

Cheese platters are a perfect date night dish: visually impressive, yet super simple to create. With this walkthrough, you’ll know how to make a cheese board for your honey in under 15 minutes.
Step One: Gather your ingredients
Bring your cheeses and extras out to your workspace. You should have two or more cheeses, one to two types of crackers, and one or more accompaniments (like chocolate, olives, fruit, or nuts). Grab your cheese knives (or other knives) and a small bowl or two. Don’t worry if you’re preparing this ahead of time, cheese is best served at room temperature, so 30 minutes or so out of the fridge is actually ideal.
If you don’t have an actual cheese board, substitute a cutting board or serving plate instead!
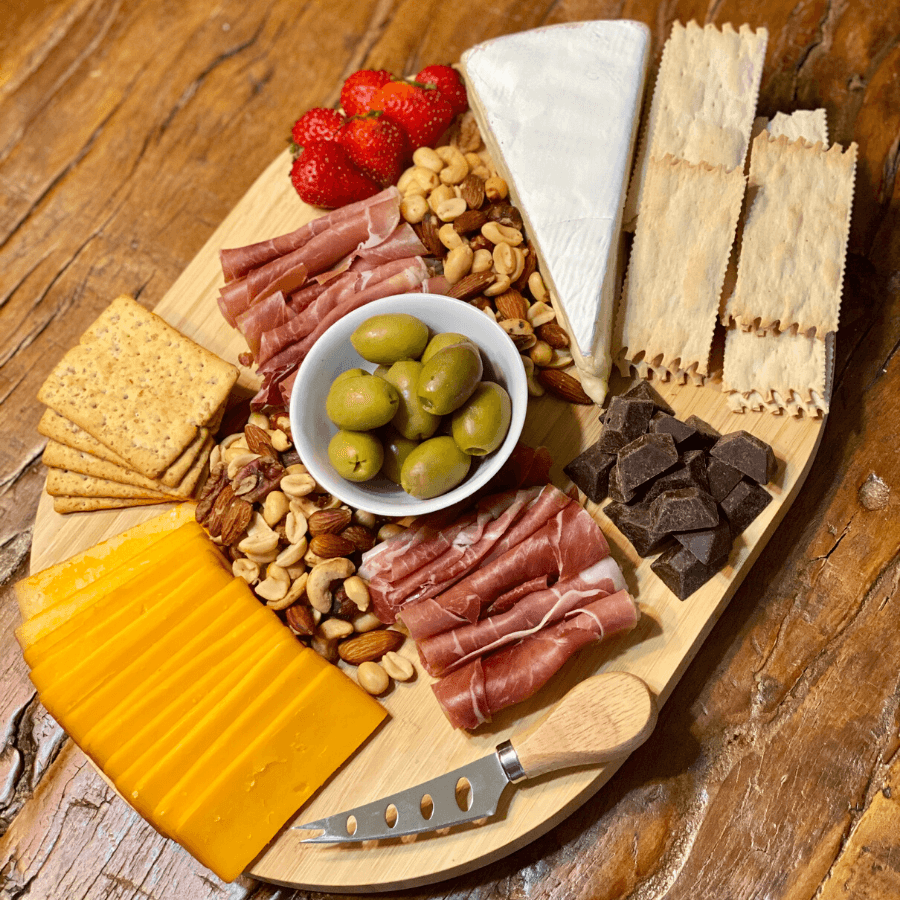
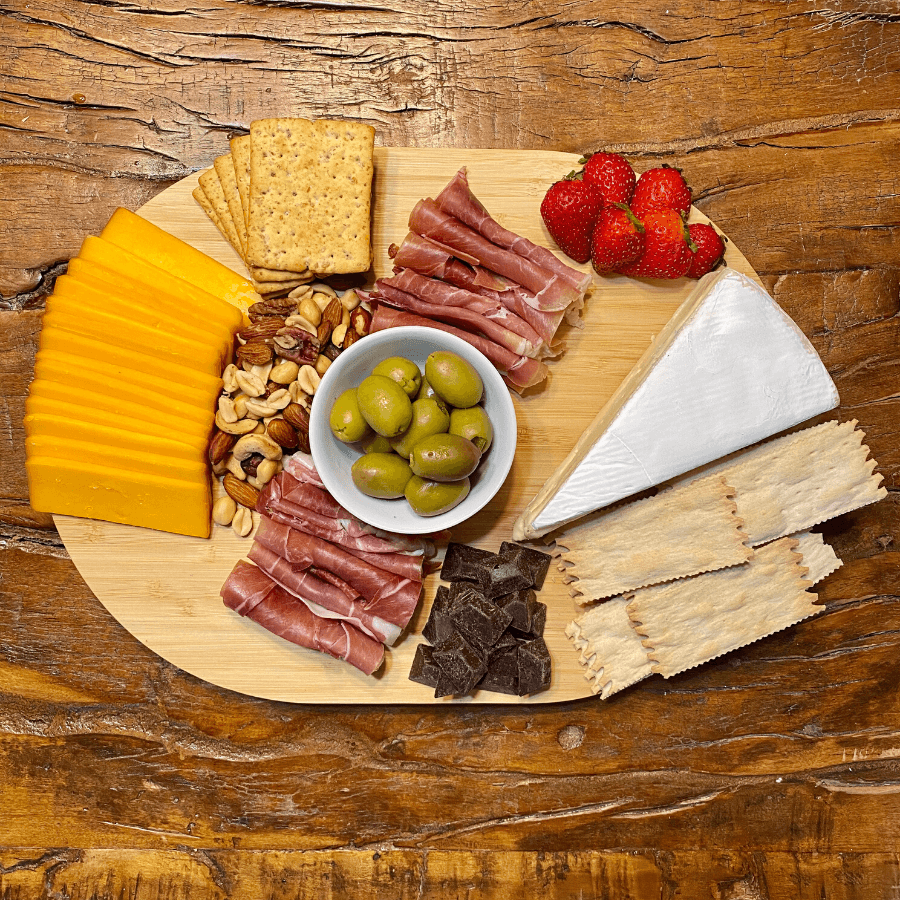
For this cheese board, we used:
-
Cheddar cheese
-
Brie cheese
-
Prosciutto
-
Flatbread crackers
-
Sweet wheat crackers
-
Green olives
-
Mixed nuts
-
Strawberries
-
Chocolate chunks
Step Two: Place the Cheeses
The cheeses are the star of the show, so set them down first on opposite ends of the board. For hard cheeses, you can pre-cut slices, cubes, or provide a fitting knife. For soft cheeses, leave them whole; but remove any packaging or labels before plating.
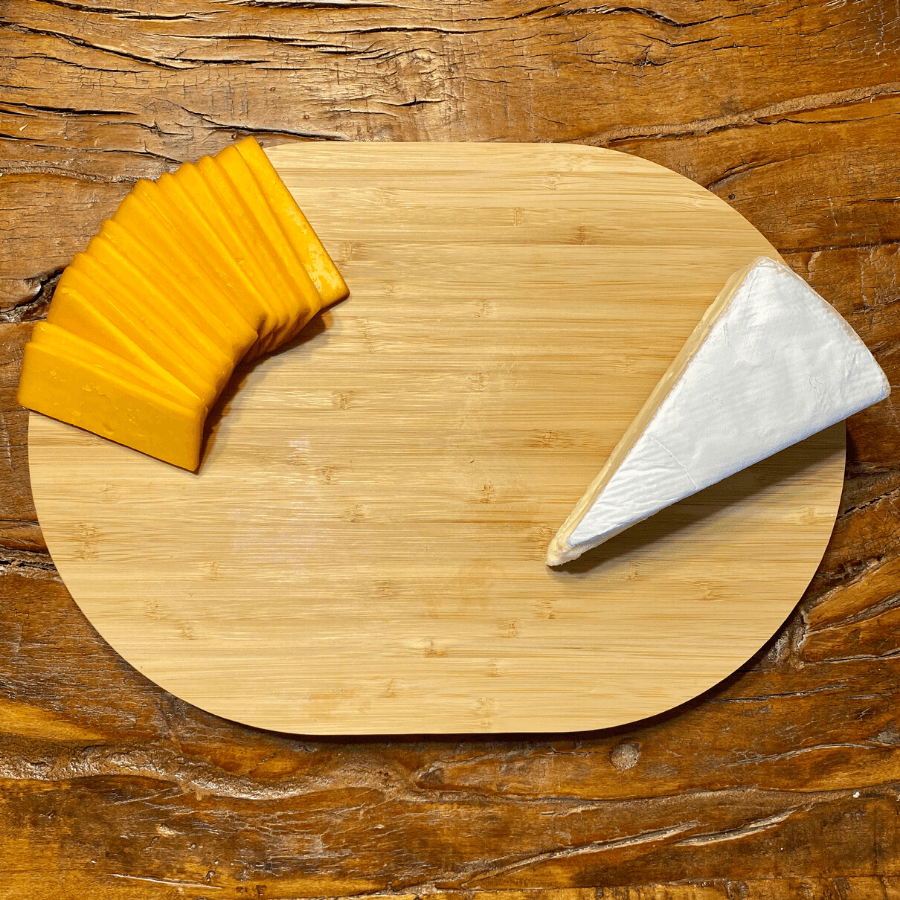
If you have more than one hard cheese, vary the presentation for more visual interest. Do one as slices and the other in cubes, for example. If you own cheese knives, the broader blades are for hard cheese while the long, thin blades are best for semi-soft cheese and the round, swooped edge is for spreadable cheeses.
Step Three: Create a Centerline
Once the cheeses on either end of your board are defining the sides, add a focal point in the center to build around. If you have more than two cheeses, this could be a third cheese, too.
Otherwise, use a small bowl to hold one of your accompaniments. Think of the bowls you get sauce-on-the-side in. Those are the perfect size for your board.
It’s best to put any wet accompaniments like olives or pickles in a bowl so they don’t leak into other elements. Otherwise, put a small portion of any jam, honey, or spreads into a bowl for easier serving tableside.
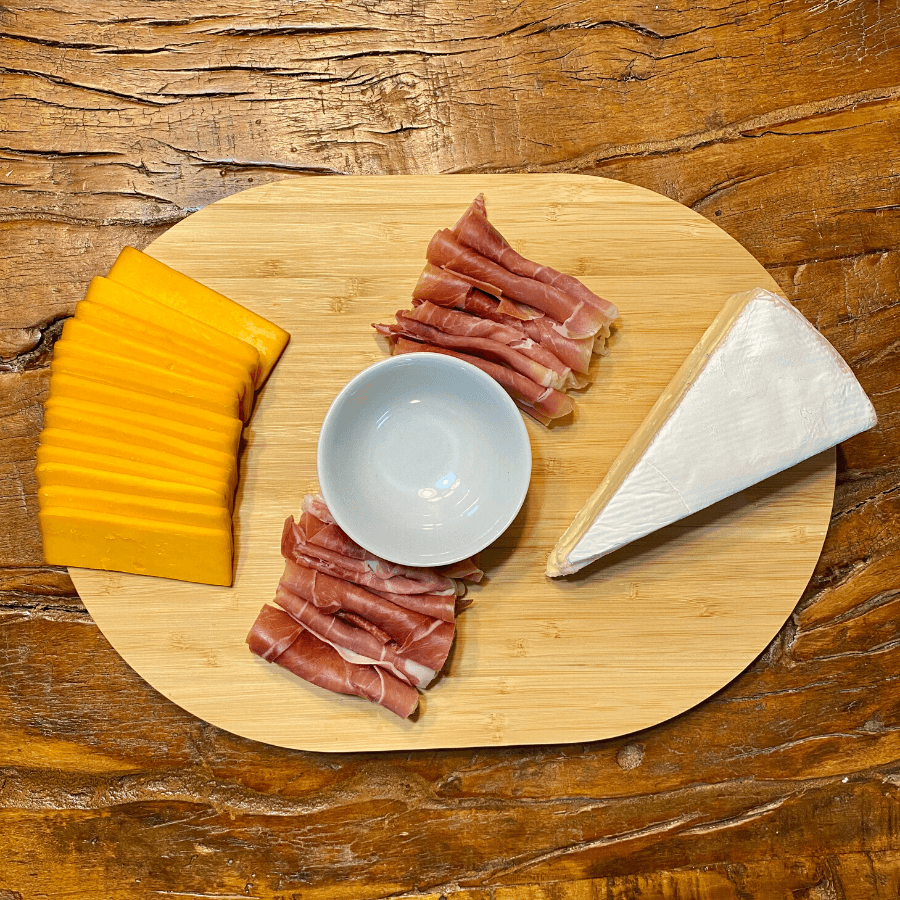
No matter how many cheeses and/or bowls you have, add these larger items first to block out their spacing. Keep them roughly the same distance from each other. These will create natural spaces for smaller elements later.
Step Four: Add Crackers
Crackers are typically vessels for cheese, so it’s best to put them in an easily accessible location – Ideally on the outer edges of your board, near the cheese. Place similar size/shape crackers near similar size/shape cheese. There’s nothing worse than pairing a tiny circle-shaped cracker with a giant square-shaped slice of cheese!
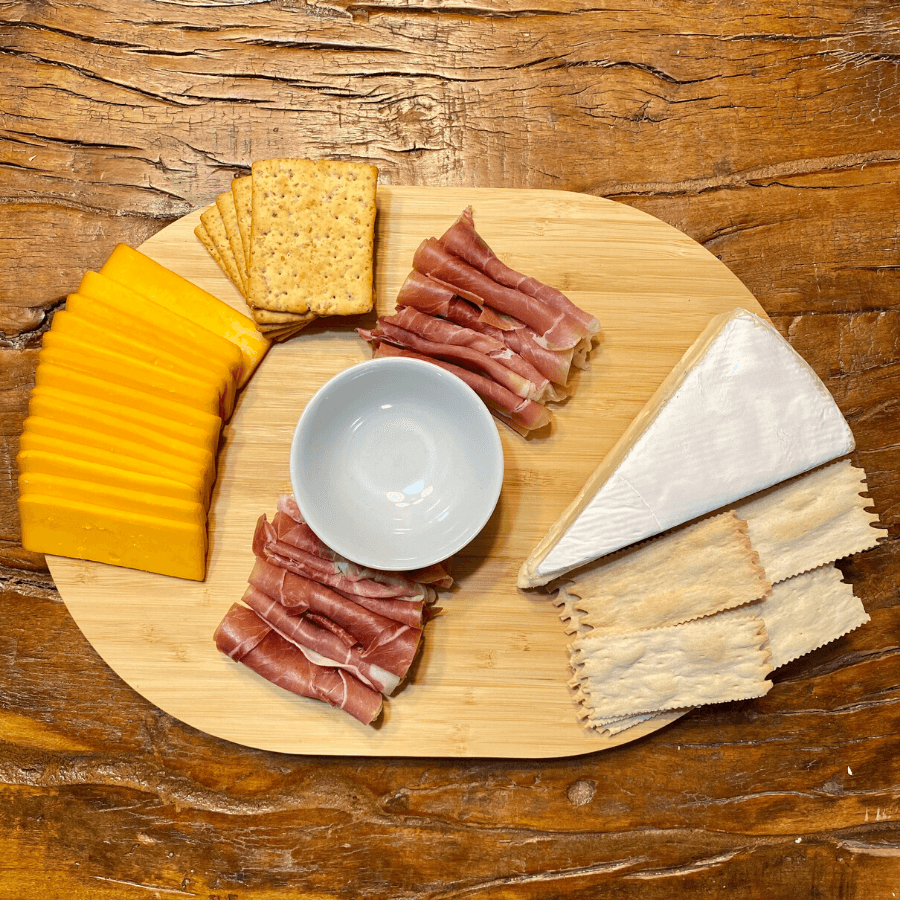
(we are kidding about nothing being worse than cracker-to-cheese ratios, but it is an important consideration!)
Step Four: Fill the Gaps
Now that there’s anchors on either end and the center of your board, natural gaps should appear in between them. Add additional pieces (like fruit or nuts) into those gaps to fill them in.
If there’s specific accompaniments for each cheese, keep them clustered together. For example, put the cracker for your soft cheese beside it.
Step Five: Cover the Edges
Last up, fit any extra elements and fill any gaps. Fan crackers out from each other or layer up meat slices in an arc at the edge if there’s lots of space to cover and for visual interest. If there’s any space left, use that to set a cheese knife down, and bam! Space filled.
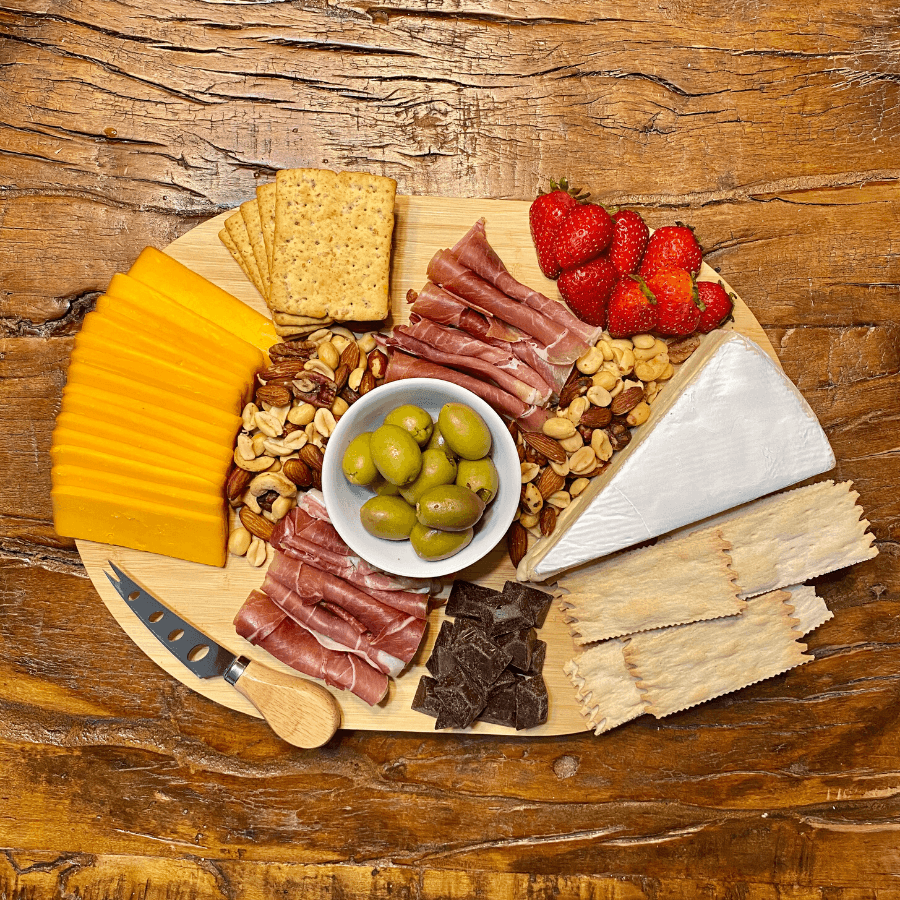
Just like that, you know how to make a cheese board. Make sure to serve it with enough knives or small spoons for each cheese and spread. Save any extra cheese by tightly wrapping it with beeswax paper or parchment to keep it fresh.
July 12, 2020
How to Make a Cheese Board in 15 Minutes


Hey there, I'm Tessa!
Founder and lead planner of Amore Austin. It's my mission to transform couples' dream proposals into reality by using creative solutions to design and execute luxuriously romantic proposals that are as unique as the couples we love to serve.
@amoreaustin


get in touch
proposals
search by category


[…] back on kitchen prep with an easy culinary experience. Create your own wine & cheese night with our free DIY Guide or opt for the effortless option with a pre-made cheese platter. For our […]